
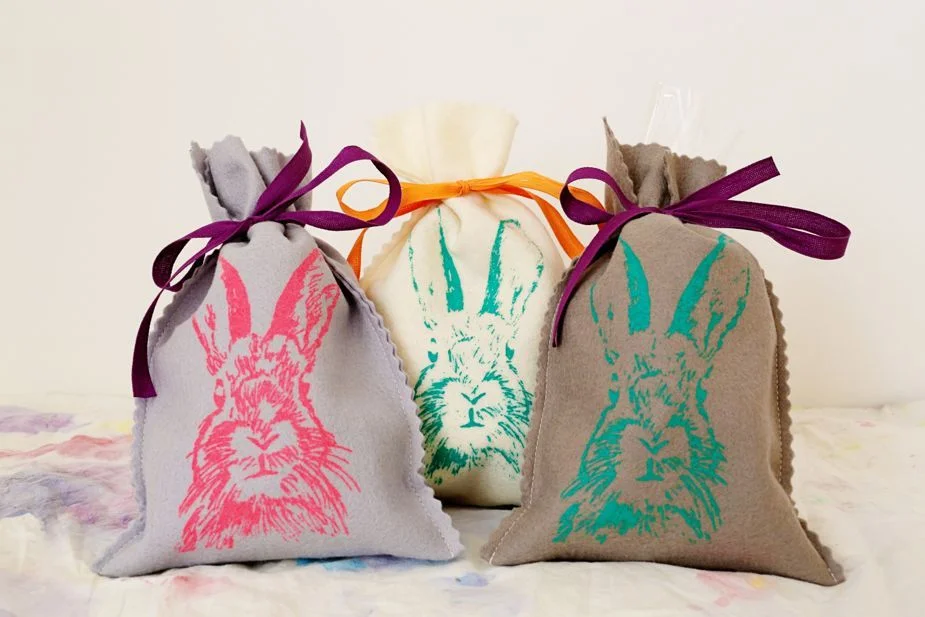


Make it stop! Everything I see is a potential canvas for screening. It's so addicting. These bunny bags were so easy whip up, I made big stack using 18x18 wool felt from a previously abandoned project. These guys will be for D, his cousins (8 boys!), and a few friends.
 While I'm in love with the original bunny, this hipster bunny (another Shutterstock acquisition) takes the carrot cake for me. Admittedly, this guy was a bit harder to print due to the fine line work and printing on felt was an added challenge. I think I'll have more success printing on a finer cotton or linen. Stay tuned. I'm not done with this bespectacled Bunny yet.
Being a hipster, this bunny is more likely to be appreciated by D, now, according to him, that he's "not a little kid" anymore.
Since he's such a young gentleman, I added some almost breath mints, lip balm, a handmade handkerchief and chocolates to his bag. I'll fill a few of these up and stuff them in his Easter basket and save them for future Easter Sundays.

If you want to make some of your own bags - with or without screen printing - you'll need these tools and materials:
- 18"x18" wool felt [this will yield 3 bags]
- 24" ribbon per bag
- rotary cutter with pinking blade + straight edge
- sewing machine or sewing supplies [thread or embroidery floss & needle]
DIRECTIONS:
- Fold fabric in half. Measure and mark at 6" and 12" from short side.
- With rotary cutter and straight edge, cut at marks from folded edge to top of fabric. You will now have 3 bags.
- Trim outside edges of two bags with rotary cutter.
- Cut ribbon to 24" and fold in half.
- Line up edges of bags making sure the scalloped edges are aligned. Pin ribbon 2" from top of bag between layers of fabric on the right side. Place a pin 2" from the top on the left side.
- Sew each side of bag from pins to bottom. Make sure you catch the ribbon!
- Trim top of bags with rotary cutter.
Happy Crafting,
F&N


